URBIM + A.I.F.E.: Unifying Design and Asset Intelligence in the Food Industry
On the path towards the digitalization of industrial food production, URBIM becomes the collaborative space that centralizes all building design information, strengthens client relationships, and lays the groundwork for smart automation.

Unified Access to Design Assets
A single digital space where A.I.F.E. shares all ongoing and completed projects with its multinational clients, simplifying access to models, documentation, and guarantees across their global portfolio.

Digital Building Book
Each project in URBIM becomes a Digital Building Book, compiling BIM models, manuals, warranties, and technical documentation—ensuring a structured, visual, and always-up-to-date digital twin.

Scalable and Intuitive
A solution that adapts to each client’s complexity, enabling collaborative visualization and document review without the need for expensive or complex software licenses.
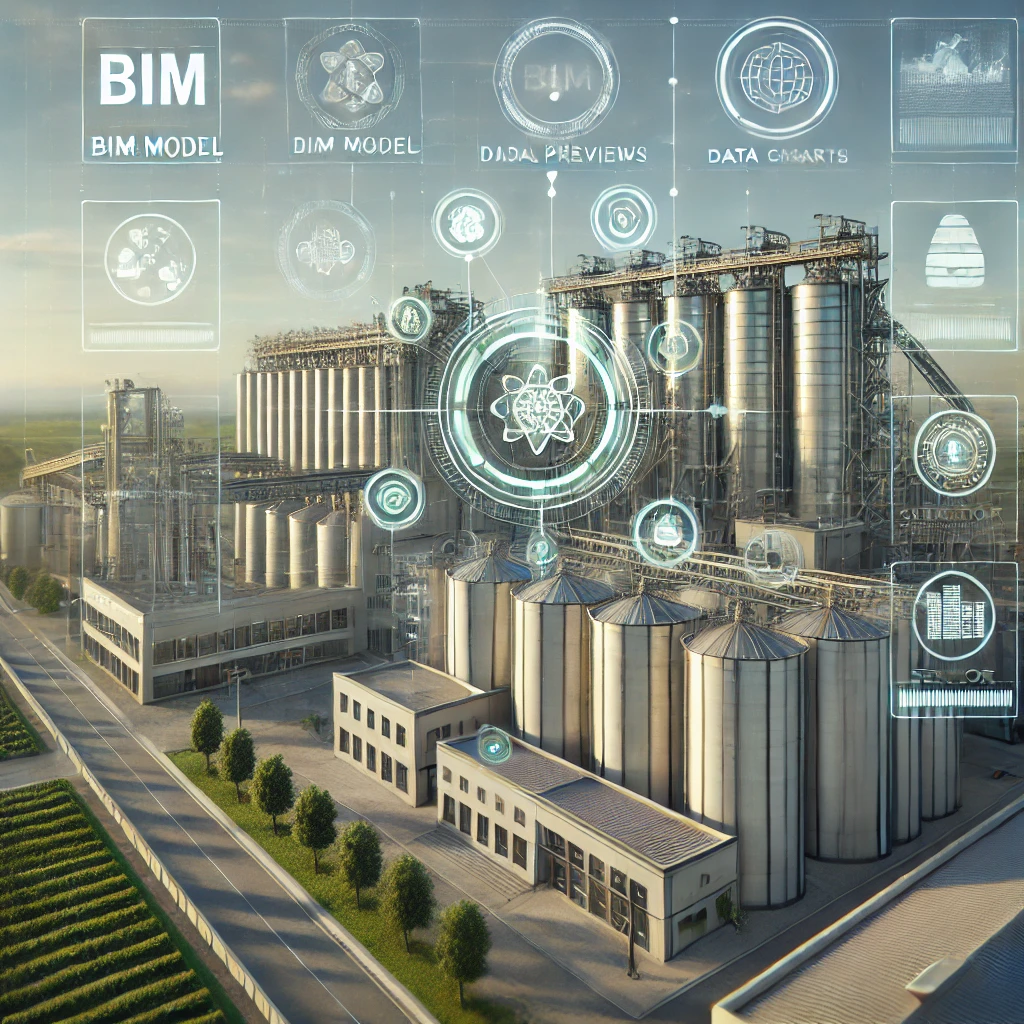
Use Case: Design Consolidation for Industrial Food Plants
Value Proposition: Strengthen client loyalty through centralized and transparent project collaboration.
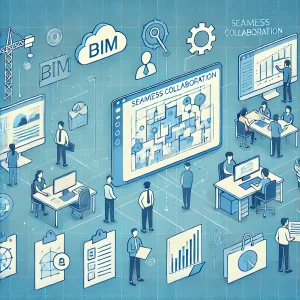
Seamless Collaboration
Clients access a unified platform where all projects developed by A.I.F.E. are available—streamlining communications, version control, and engagement from early design to future operation.

Comment-Driven Review
Interactive feedback within the 3D environment ensures issues are discussed in context—accelerating decisions and fostering alignment between design teams and client stakeholders.
Smart Infrastructure Foundations
From day one, the structure is ready for future integration with systems like SCADA, DCS, PLC, MES, CMMS, QMS, and Industrial DataOps—turning every design into a launchpad for intelligent asset management.

Future-Proofed Digital Twin
By introducing the client early into the digital environment, A.I.F.E. ensures an easier transition into operational stages, where automation and monitoring will leverage this same ecosystem.

Transforming Design Handover into Strategic Continuity
This use case shows how URBIM enables A.I.F.E. to not only deliver excellent design but also embed themselves in the lifecycle of their clients’ assets. With reduced license dependency, centralized information, and a future-ready digital twin, the engineering firm builds lasting value—starting in design, and continuing through operation and automation.
Technical Implementation: URBIM + A.I.F.E. Digital Twin Collaboration Hub
Architecture and integration framework for scalable BIM data environments, enabling industrial-grade asset design, documentation, and future automation.
This containerized, horizontally scalable architecture is built to grow with A.I.F.E.’s roadmap, including future connections to SCADA, MES, ERP, QMS, and Industrial DataOps platforms via URBIM’s plugin ecosystem.